
President at Plum ProExteriors
Effective Chimney Flashing Repair: Your Guide to a Leak-Free Roof
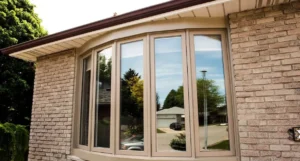
The flashing around a chimney serves an important role keeping your home leak-free and in good condition. However, like any other part of your property, it’s vulnerable to damage and leaks.
It’s essential that you repair chimney flashing as soon as possible to stop water entering your home, causing damage and issues such as mold and mildew growth. Prompt chimney flashing repair can prevent expensive and complex repairs further down the line.
In this post, we’re going to talk about chimney flashing and what it is. We’ll guide you to spot the signs of chimney flashing failure and walk you through the steps to chimney roof repair.
You’ll also learn how to look after your chimney flashing to help minimize roof chimney repair. Read on to discover all you need to know about maintaining and repairing chimney flashing!
Understanding chimney flashing
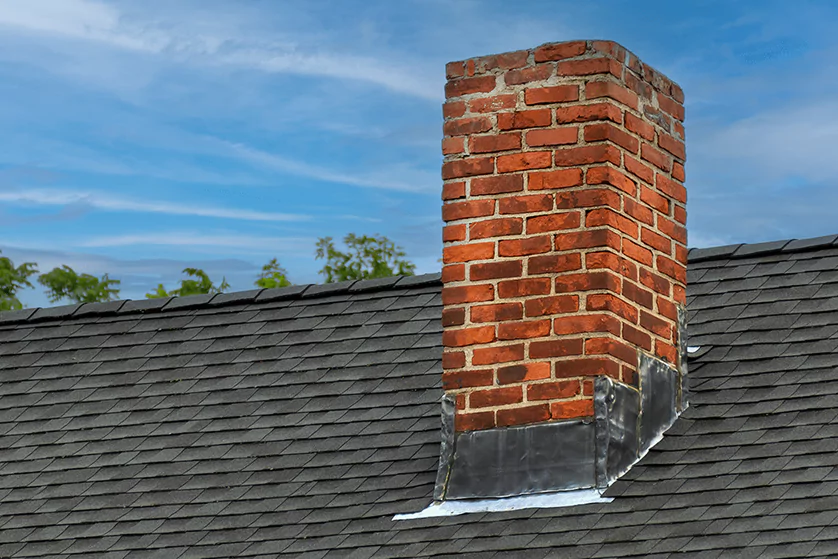
Chimney flashing comprises sheets of metal or other waterproof materials (such as flexible fibers or plastic) placed in the area where the chimney meets the roof.
They are layered so that one sheet is placed in an L-shape over the chimney and roof while the other sits over the original sheet covering shingles and mortar joints. The sheets are sealed in place to prevent even the tiniest amount of water seeping into your home.
The main purpose of chimney flashing is to stop water entering your home at the point where the chimney meets the roof.
As well as preventing water ingress and all the problems associated with that, chimney flashing helps keep pests out and enhances the energy efficiency of your home.
Common signs of chimney flashing failure
While it’s designed to be robust and long-lasting, chimney flashing may deteriorate over time due to exposure to the elements. It may also suffer damage following a major weather event such as strong winds or storms.
If this happens, the flashing may crack or pull away from the chimney. This allows water and sometimes pests to enter your home and cause damage.
And if your flashing has been incorrectly installed in the first place, you could find yourself faced with these issues even if it’s new.

To prevent problems escalating, it’s important to know the signs that your chimney flashing may be failing:
- Leaks that appear to be coming from the inside or outside of your chimney.
- Puddles accumulating inside your property around the area of your chimney.
- Dripping sounds.
- Water stains on the ceiling or walls around the chimney.
- Discolored bricks.
- Rust stains.
- Visible cracks or gaps in the caulking around the caulking around the flashing.
- Musty smells coming from your chimney.
- Condensation in your firebox.
DIY vs. professional chimney flashing repair
Clearly, it’s vital to get a leaking chimney repair done as soon as possible. But should you opt to do it yourself or get a professional flashing chimney repair?
Usually, the cost to replace chimney flashing will be less if you do it yourself. However, you’ll need to weigh up the pros and cons of a DIY (do-it-yourself) chimney roof repair before making your decision. Consider the following factors:
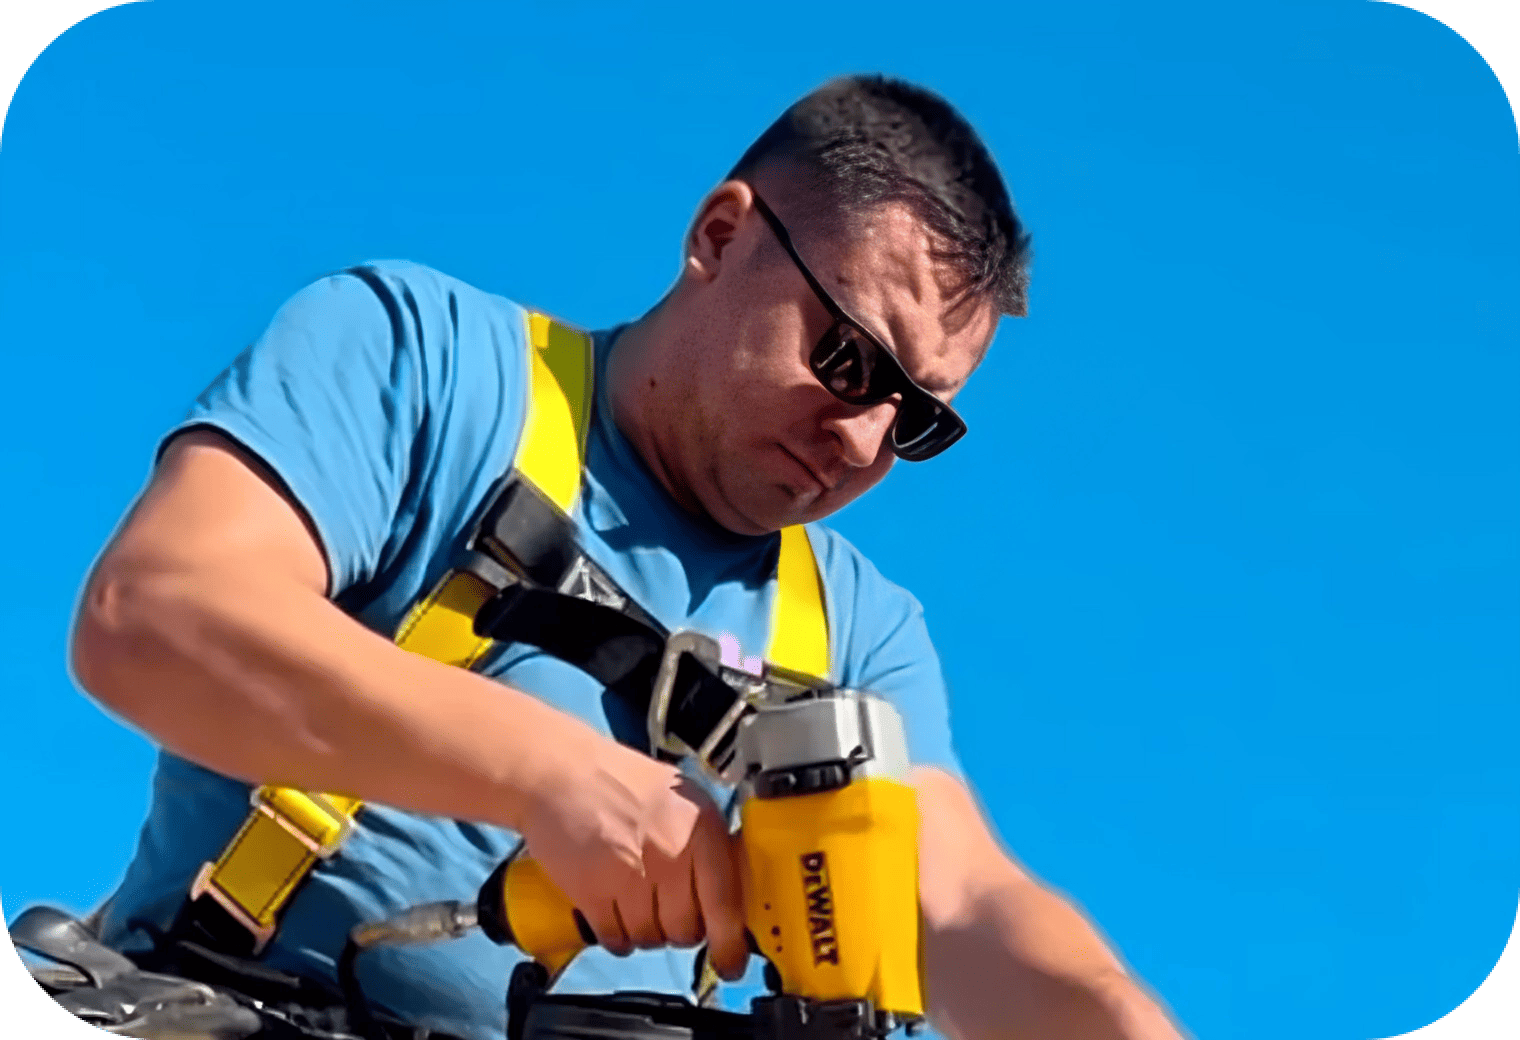
- Think safety first. To get to the flashing around a chimney, you’ll need to use an extension ladder with someone holding it steady at the bottom. It’s also advisable to wear protective gear, including a hard hat, eyewear, heavy-duty gloves and gripping boots.
- Get the right tools and equipment. You’ll need professional-grade tools to measure, cut and bend your flashing before you go up on your roof. You’ll also need hammer and nails to fix the flashing, a caulk gun, roofing cement and roof caulk to seal the edges and joints.
- Set aside plenty of time to do the job right. Prepping your equipment and materials, putting safety measures in place and carrying out the job to a professional standard all takes time. Don’t rush your chimney flashing repair for the best—and safest—results.
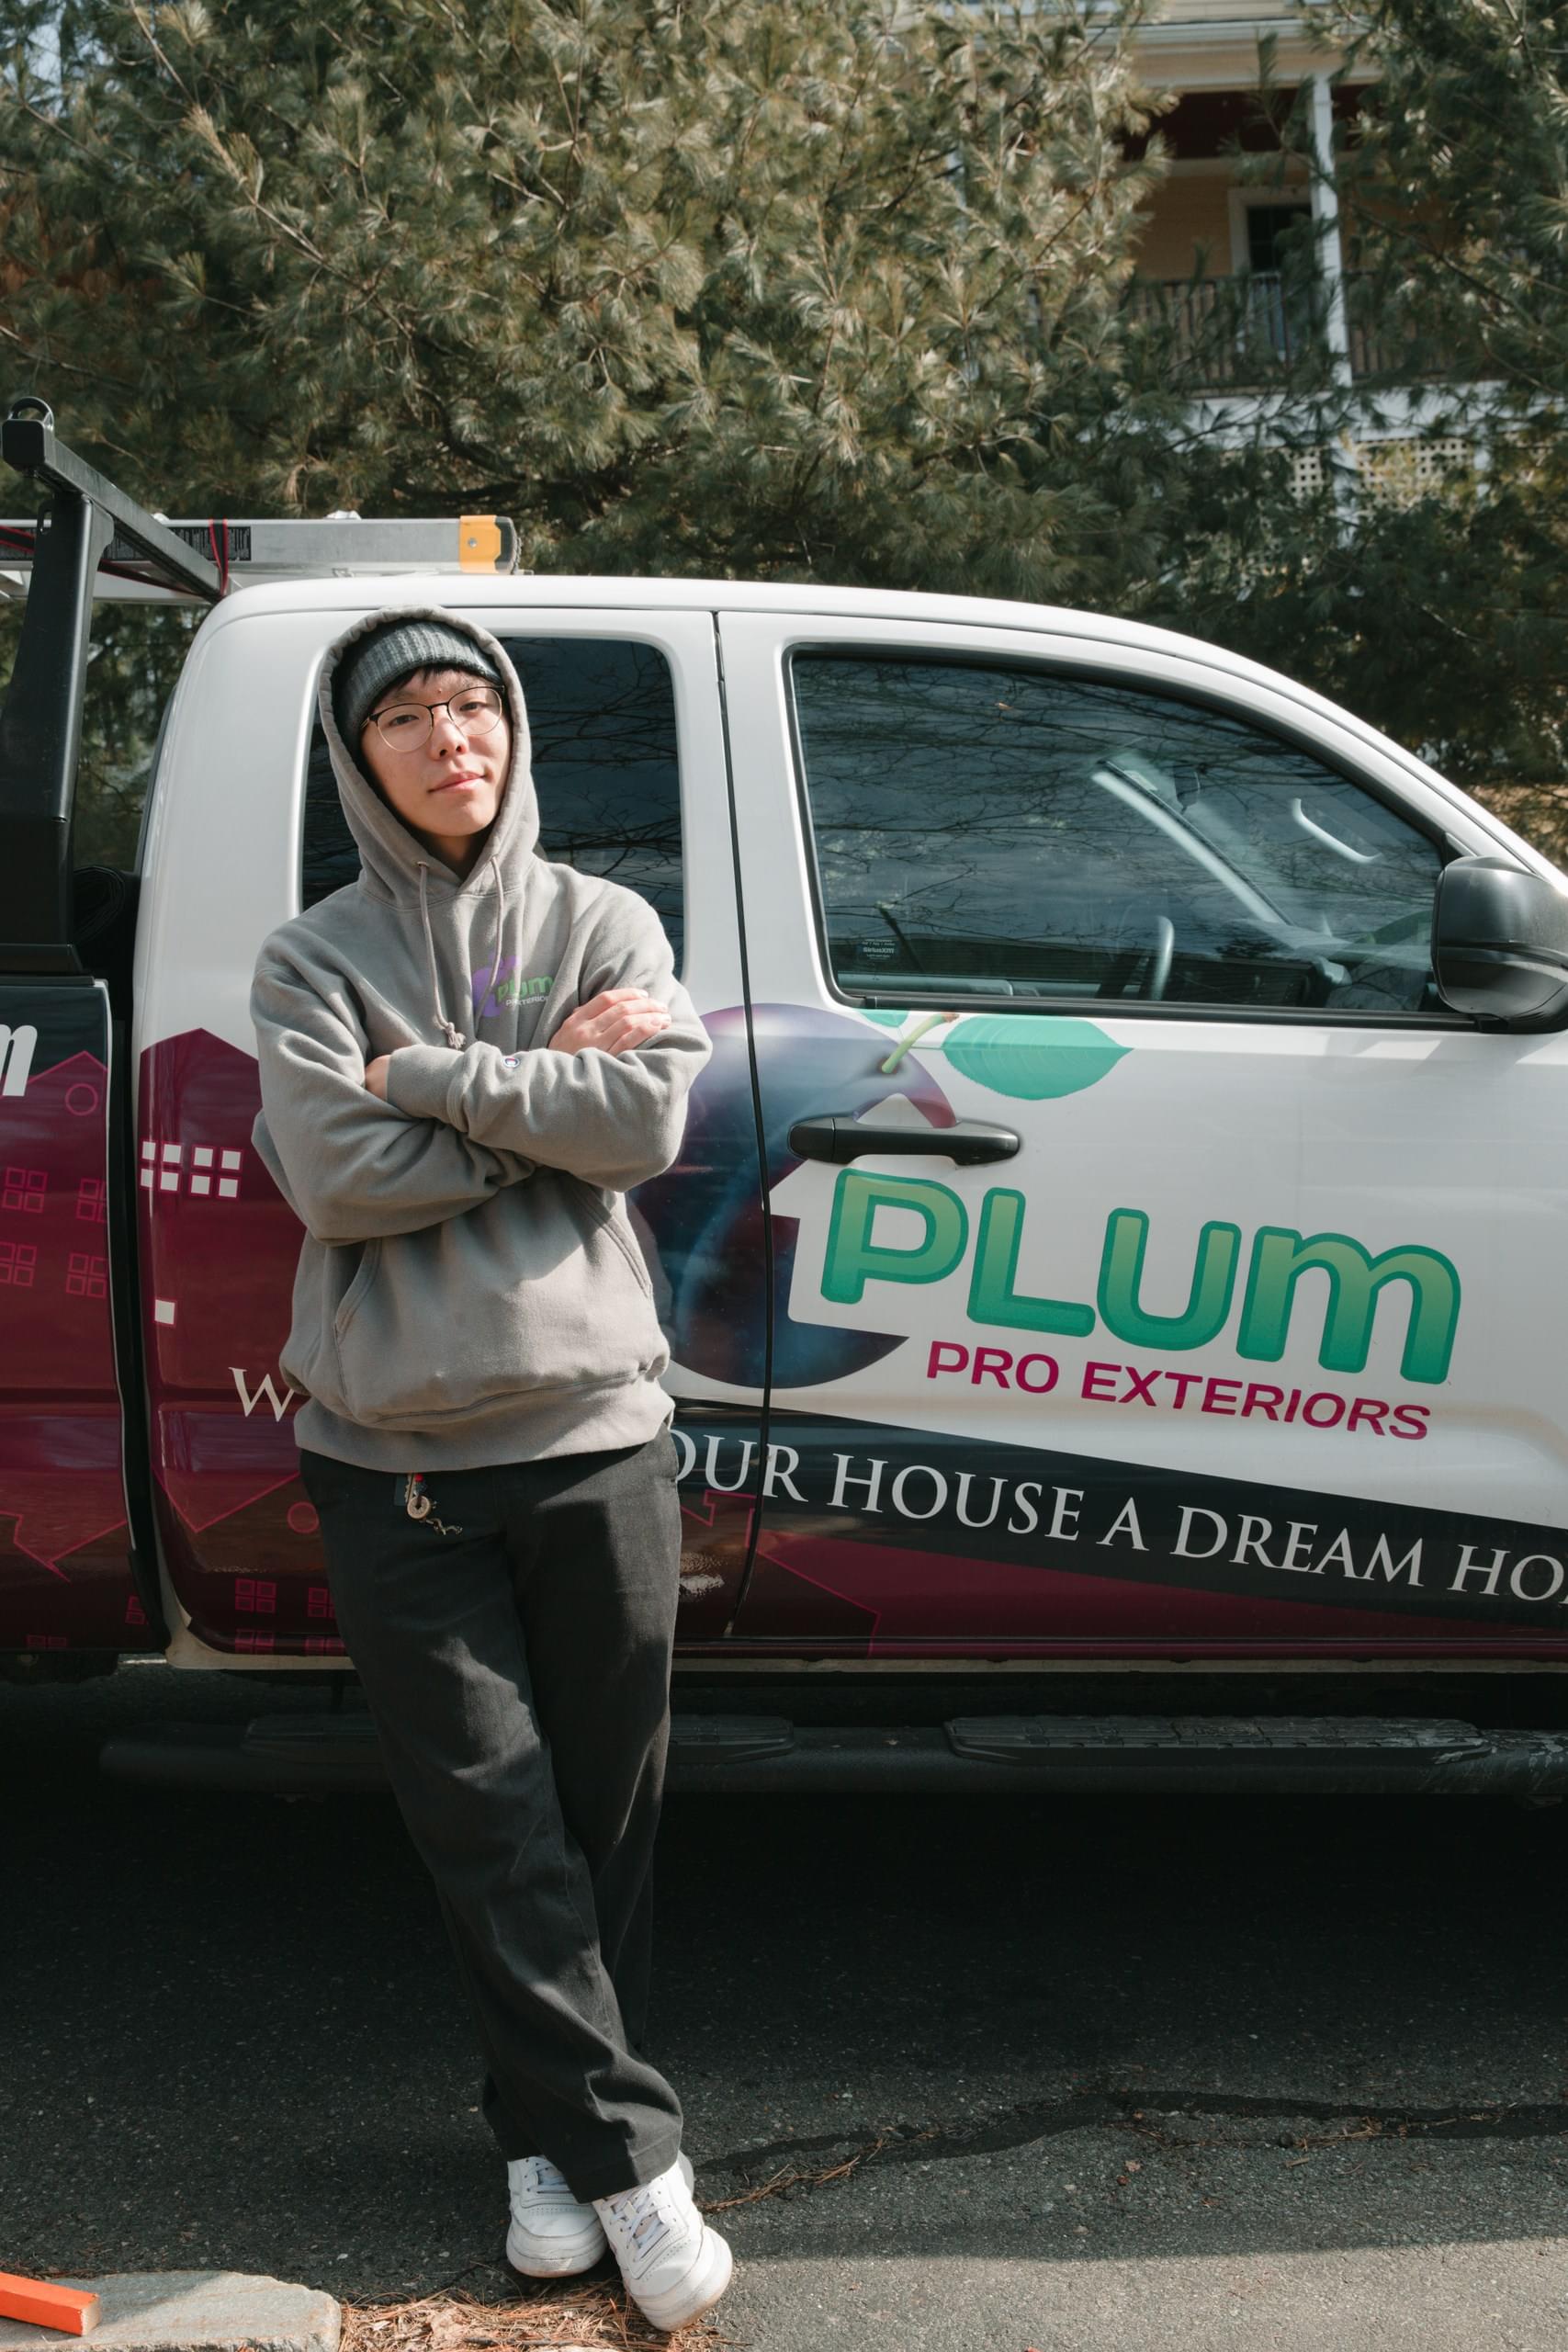
If you don’t already have roofing or masonry work experience, chimney flashing repair is best left to the professionals. Here’s are the reasons why you should consult a professional roofing services company like Plum ProExteriors for your roof chimney repair:
- We offer a free, no-obligation quote to advise you on the cost to replace chimney flashing and guide you on the work your property needs.
- We have many years of experience in roofing services, including roof chimney repairs.
- We focus on quality workmanship, the highest safety standards and excellent customer service so you can be assured of a first-class service.
- We conduct inspections throughout our projects to ensure they are carried out according to plan and on time.
- We are a licensed and insured company with professionalism at its heart.
Want to know more about chimney flashing repairs? Give us a call today to schedule your free quotation for chimney flashing repair cost!
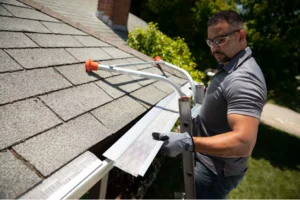
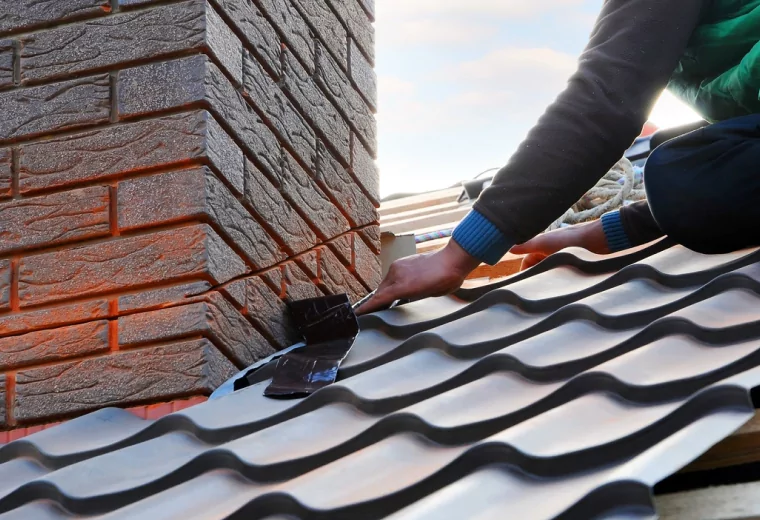
The chimney flashing repair process
It helps to understand the process for repairing your chimney flashing. Here are the steps to restore your flashing:
- Step one. Careful inspection of the existing flashing, checking for cracks, splits and other damage. This will already have been part of the quotation process, but a professional company like Plum ProExteriors will take another closer look when they start the job in case any new damage has occurred.
- Step two. Removal of the old flashing, and shingles if necessary, around the chimney and all debris cleaned away.
- Step three. Cleaning of the area around the flashing to remove dirt and ensure the new flashing adheres to the surface and forms a watertight seal.
- Step four. Placement of the new flashing (measured and cut to size) in the correct position and overlapping adequately, using the old flashing as a guide.
- Step five. Fixing of the new flashing onto the roof’s surface.
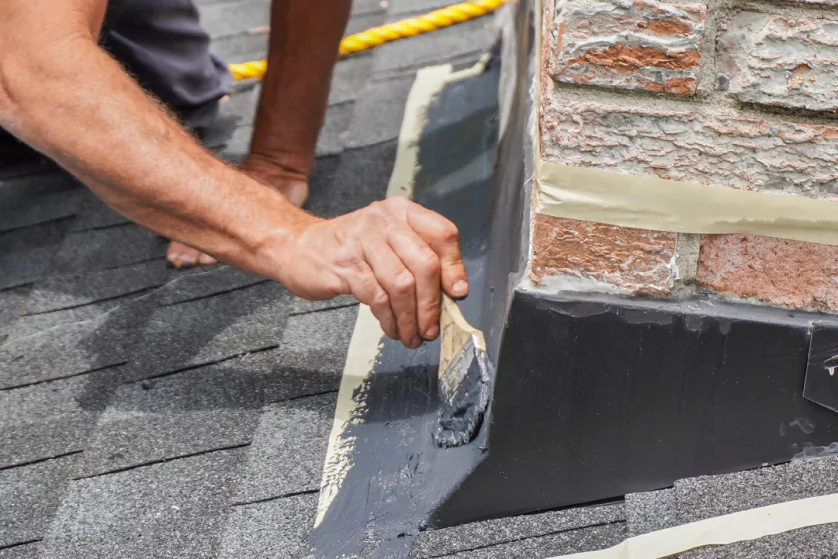
- Step six. Creating a watertight seal with roofing cement and progress to chimney caulking repair by sealing the joints with roof caulk.
- Step seven. Cleaning and inspecting the area to ensure that it’s neat, tidy and in good condition.
Prevention is key: Maintaining your chimney flashing
Here’s the good news—there’s lots you can do to keep your chimney flashing in good condition. This will prevent problems with leaks and damage to your home:
- Examine your chimney and flashing twice a year. You can do this from the ground with binoculars. Or to be safe, call in a professional roofing services company like Plum ProExteriors to carry out a roof inspection and offer a quote for chimney flashing replacement cost.
- Get any damage fixed quickly to prevent them getting worse, damaging your room or becoming more costly in the long-term.
- Cut back any tree branches that overhang your chimney area to prevent leaves dropping and retaining moisture.
- Clean the chimney and flashing regularly. Use a long broom to remove debris. This helps prevent build-up of moisture that could harm your flashing.
- Get a professional chimney sweep to do yearly chimney inspections. This is essential for the interior and exterior health of your chimney and surrounding areas.
Why is it worth calling Plum ProExteriors?
If they’re not fixed quickly, problems with your chimney flashing can escalate to bigger and more expensive issues. In the worst case scenario, you could risk water entering your home, rotting your roof structure and causing serious problems like mold and mildew.
Why not give the experts at PlumProExteriors a call? We can help you with a range of roofing services, including regular chimney and flashing inspections and repairs and replacements as necessary.
We’re the go-to roofing services company for Massachusetts and New England and can offer a free, no-obligation quote for chimney flashing replacement cost. If you decide to go ahead, we’ll talk you through the process and ensure that your project is carried out to the highest standards, within budget and on time!
Reach out to us today! We’re delighted to help with all your roofing and chimney flashing needs!